Applying Fast Lashes, how do you do that?
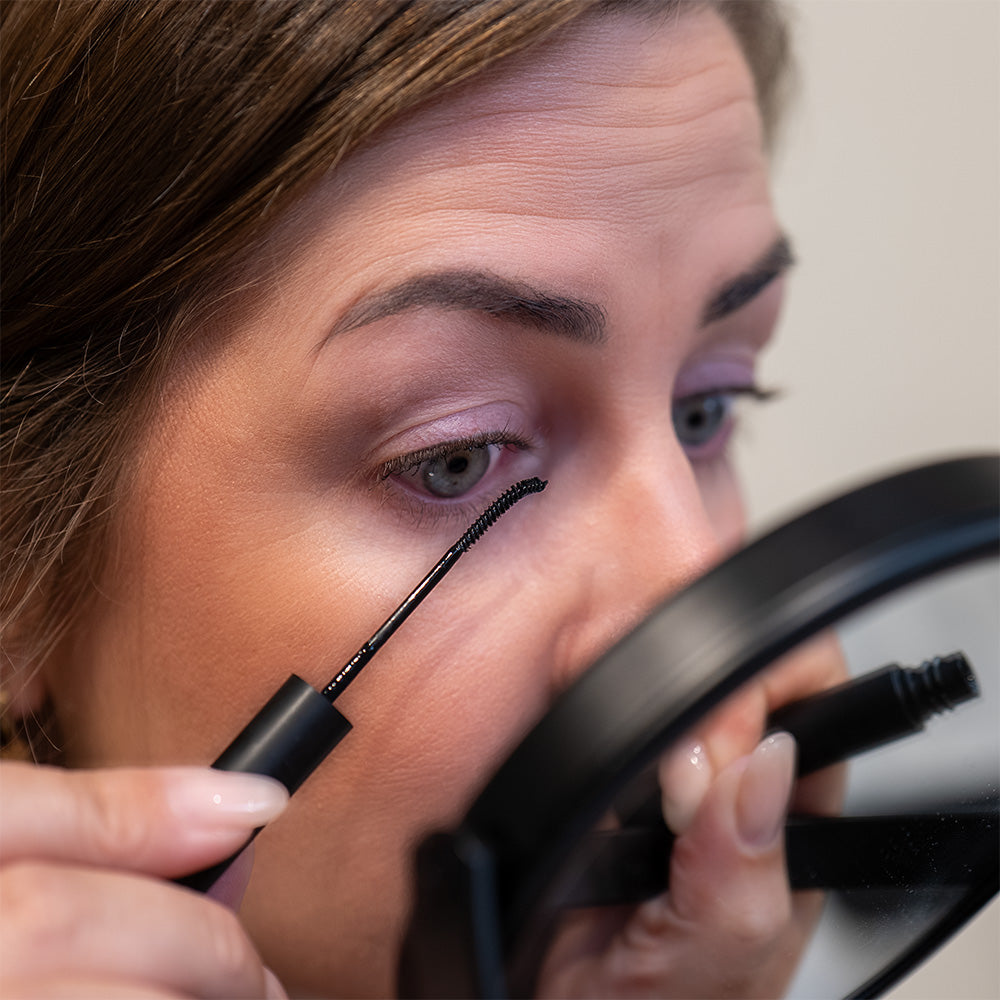
Table of contents
Preparation for placing Classy Fast Lashes
Step 1 | Curl eyelashes naturally
Step 2 | Classy Fast Lashes Bond Reverse
Step 3 | Apply Classy Fast Lashes Bond
Step 4 | Cut Classy Fast Lashes
Step 5 | Apply Classy Fast Lashes
Step 6 | Sealing Classy Fast Lashes
Step 7 | Brushing Classy Fast Lashes
Aftercare Classy Fast Lashes
Video | Applying the Classy Fast Lashes step by step
There it is, a blog with text, explanation and a step-by-step video, in which we will explain to you step by step how you can apply the Classy Fast Lashes yourself.
Preparation for placing Classy Fast Lashes
First of all, it is extremely important to prepare your eyes and eyelashes for the Classy Fast Lashes. Preparation is actually half the battle!
Make sure your eyes and natural eyelashes are free of makeup, grease and oil . You can do this by using a foam or micellar water. With the latter option, it is best to rinse your eyes again with plain tap water.

Step 1 | Curl eyelashes naturally
To properly reach the attachment of your natural eyelashes with the Classy Fast Lashes Bond (glue) , it is useful to first curl your eyelashes with a curling iron.
Gently place your natural lashes between the curler with your eyes open. Be careful not to pinch while positioning your lashes.
K Gently squeeze the curling iron and hold for several seconds ( usually 5-10 seconds , but follow the manufacturer's instructions). Start as close to the base of the lashes as possible and work towards the ends.
Gently open the curling iron to free your lashes. Repeat as necessary to achieve the desired curl.

Step 2 | Classy Fast Lashes Bond Reverse | Optional
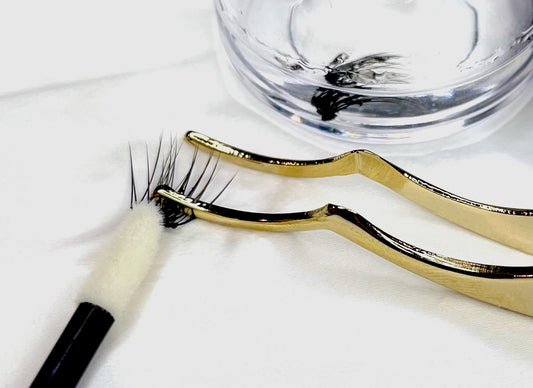
The Classy Fast Lashes Bond (glue) comes in a matte black tube. When you first open it, it has a straight brush. You can carefully bend this with your Classy Tweezer .


It is also advisable to repeat this action between placing the Fast Lashes . This way you ensure that your tweezer is always clean and that the Fast Lash does not accidentally stick to your tweezer.
Step 3 | Apply Classy Fast Lashes Bond (glue).
Take your time to apply the Fast Lashes Bond . You do this almost the same as with a mascara, however, you only stamp the brush of the eyelash glue against the attachment of your natural eyelash.
This ensures that the Fast Lashes applied later continue to look fluffy.
Be careful not to apply the eyelash glue to your skin or eye rim . If this does happen, take the Classy Fast Lashes Remover and remove all applied glue, wash your eyes with a foam or a fat-free wax emulsion and start again at step 1. ↑
Although you have to apply this with some caution, it is important that you apply sufficient eyelash glue. Please watch the video at the bottom of this blog.
Let the eyelash glue dry for about 1 minute and in the meantime take the time to cut and/or prepare the Fast Lashes.

Step 4 | Cutting Classy Fast Lashes | Optional
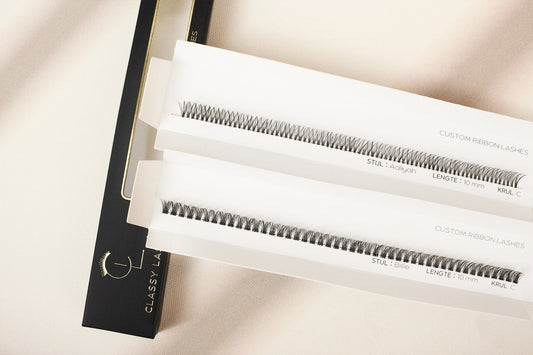
If you purchased the Ribbon Fast Lashes you will first have to cut the Fast Lashes. You can skip this step if you have the Starter Kit or one of the (Customized) Pre Cut & Mapped Out sets.
Make sure you cut the Fast Lashes accurately , close to the Fast Lash. This prevents a piece of the ribbon from sticking out and possibly poking the skin around your eyes.
For example, use small iris scissors, silhouette scissors or nail scissors. No kitchen scissors, they are too coarse and too large to cut the segments neatly.

Step 5 | Apply Classy Fast Lashes
Take your time applying the Classy Fast Lashes. You're not in a hurry!
The Classy Fast Lashes Bond (glue) dries in 1 hour , so you can really relax and take your time placing the Fast Lash segments. And you will soon notice that you become faster and more adept at it over time. Practice makes perfect, it really does!
Please note: for extra adhesion, we recommend applying some eyelash glue to the inside of the Fast Lash.

Always start on the outside, but preferably skip the first few natural lashes . Otherwise, the Fast Lash attachment may sting a bit in the corner of your eye when you close your eyes.
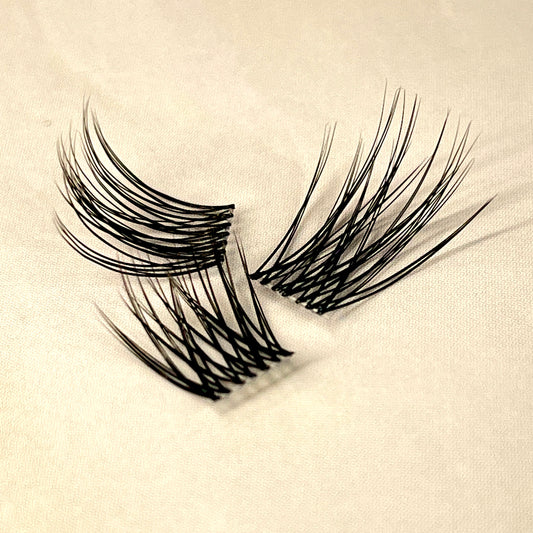
Not every eye needs 5 Fast Lashes. Some have 4 and some need more . Some even have half Fast Lash segments (usually this is the inner Fast Lash, because it also has fewer natural lashes to adhere to).
It also depends on the style. Make sure you have pre-trimmed enough lashes so that you can then continue with application.
Make sure you connect the Fast Lashes well together for an extra beautiful transition, but let go of perfectionism. You will see that if you take a little distance from the mirror, the overview of your look is great.
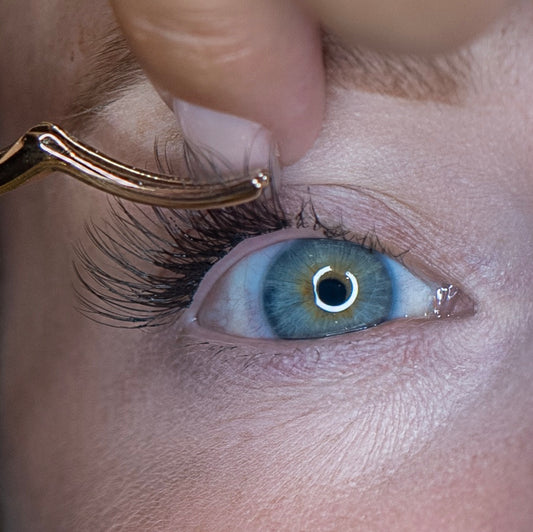
Please be extra careful that the Fast Lashes are placed on the attachment of your natural eyelashes and not on your skin/eye rim .
It is also good to remember that you check the Tweezer for any adhesive residue between placement . Otherwise, the next Fast Lash you want to place may stick to your Tweezer. Which is particularly annoying if you have just placed it tightly against the previous one. If necessary, clean the Tweezer with a cotton ball micellar water or 70% alcohol - available at your drugstore, such as Etos or Kruidvat. (As described in step 2).

Step 6 | Sealing Classy Fast Lashes
With the Classy Fast Lashes Sealer you can properly seal the Fast Lashes to your natural lashes. You can apply the Sealer directly to the placed Fast Lashes after you have finished placing them. This ensures good adhesion.
A useful tip to improve adhesion is to apply the Sealer to the inside of the Classy Fast Lashes Tweezer before applying the Sealer to the Fast Lashes. This allows you to apply the Sealer both above and below the Fast Lashes, which extends the adhesion. Additionally , this prevents the Tweezer from sticking to the freshly applied set of Fast Lashes during sealing.
By using the Classy Fast Lashes Sealer in this way, you can ensure that your Fast Lashes are firmly and securely attached, resulting in a long-lasting bond and a beautiful appearance.

Step 7 | Brushing Classy Fast Lashes
Brushing your Classy Fast Lashes is an important step to ensure they look perfect and are properly placed. This brushing step is especially effective if you brush from above . Here's why this is important:
When you brush from above, you can comb the Fast Lashes neatly and evenly in the desired direction. It also helps to correct any lumps or unevenness in the Fast Lashes Bond and/or Sealer , giving you a natural and seamless look.
In addition, brushing from above ensures that the Fast Lashes are well distributed and do not stick together. This gives you a fuller look and prevents them from looking unnatural.
It's important to be patient and gentle when brushing your Fast Lashes, especially from the top. This way you can ensure that they look perfect and achieve the desired look. It is an essential step to ensure that your eyes look beautiful with your Classy Fast Lashes.

Aftercare Classy Fast Lashes
It is important to follow the proper aftercare for your Classy Fast Lashes to ensure they stay looking beautiful for a long time. Here are some important aftercare tips:
Do not get wet for the first 24 hours : Avoid contact with water for the first 24 hours after placing the Fast Lashes. This helps the glue to adhere properly and ensures a longer lifespan for your Fast Lashes.
Sleep on your back or side, not on your face: Try to lie on your back or side when sleeping to prevent your Fast Lashes from being squashed. Sleeping on your face can cause your eyelashes to become tangled and lose their shape.
Do not use mascara on your Classy Fast Lashes: Using mascara is not necessary and can shorten the life of your Fast Lashes. Mascara can build up and weigh lashes down, making them fall out more quickly.
Use only oil-free products: Make sure the products you use around your eyes, such as makeup remover or eye cream, are oil-free. Oil can damage the glue and reduce the adhesion of the lashes.
Don't pull on your Classy Fast Lashes: It's important not to pull or pick on your Fast Lashes. This can damage both your natural lashes and the Fast Lashes.

